How to create GitLab project using Frigg
This guide shows you how to create a project with name Test project inside of an already present group named Test group
- Create a new branch with a name like
create-test-project-in-test-group - Navigate to the directory of the repository in which the Test group resource is defined
- Create a new
.yamlfile in this directory - Add a new Frigg project resource in this file. For example:
version: '2'
kind: GitlabProject
metadata:
    name: test_project
    configDefaults: GitlabDefaults
spec:
    name: Test project
    groupNamespace: test_group
    config:
        defaultBranch: main
        mergeMethod: merge
        mergePipelinesEnabled: false
        mergeRequestsAccessLevel: enabled
        onlyAllowMergeIfAllDiscussionsAreResolved: false
        onlyAllowMergeIfPipelineSucceeds: false
        requestAccessEnabled: true
        restrictUserDefinedVariables: true
        snippetsAccessLevel: enabled
        wikiAccessLevel: enabled
    approvalsConfig: {}
    approvalRules: []
    pushRules:
        memberCheck: true
        preventSecrets: true
        commitCommitterCheck: true
        rejectUnsignedCommits: false
    protectedBranches:
        - name: main
          allowForcePush: false
          codeOwnerApprovalRequired: false
          mergeAccessLevels:
              - maintainer
          pushAccessLevels:
              - maintainer
          unprotectedAccessLevels: []
    members: []
    sharedWithGroups: []
ℹ️ For more information about the project resource, please take a look at the GitLabProject resource
- Create a merge request with the new project resource
- Wait for the dry run to finish and check if the changelist contains the expected changes

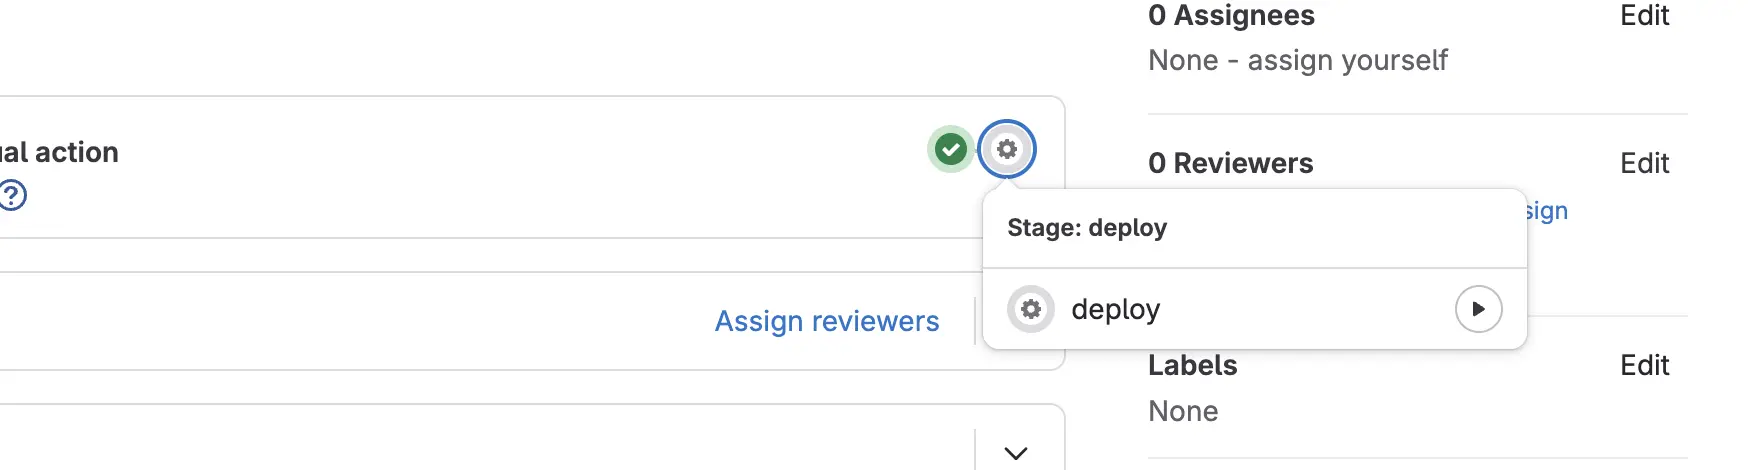
- After making sure the changes are correct, have someone check and approve your merge request and start the deployment by clicking on the play button of the deploy job
- When the deploy job has finished successfully, the merge request will automatically be merged.